A real upgrade from Slideshow & Windows Spotlight
The Wallpaper & Background Changer for Windows & Mac
Windows has built-in Slideshow and Windows Spotlight for changing your desktop background — but Slideshow only rotates folders you already own, and Spotlight gives you no control. Webshots is the upgrade: a curated 5,000+ HD & 4K library that rotates automatically, with a screensaver included.
Also available on the Microsoft Store
Built-in vs. Webshots
Microsoft ships two ways to rotate your desktop background. Both have meaningful limits. Here's how Webshots fills the gaps.
Windows Slideshow
Settings → Personalization → Background → Slideshow. Rotates a folder you already own. No new photos arrive automatically. No screensaver.
Windows Spotlight
Settings → Personalization → Background → Windows spotlight. One Microsoft-curated image per day, no schedule control, no library to browse.
Webshots Desktop
5,000+ curated HD & 4K photos. Rotate hourly, daily, or randomly. Built-in screensaver pulls from the same library, plus calendar overlay and custom playlists.
Built-in Screensaver
Windows ships a handful of generic screensavers — bubbles, ribbons, the Photos slideshow tied to one folder. None pull from a curated library or share the same photos as your wallpaper rotation.
What you get
A real wallpaper changer — schedule, library, screensaver, and playlists, all in one app.
Scheduled rotation
Rotate hourly, daily, at startup, or randomly — set the cadence and forget about it.
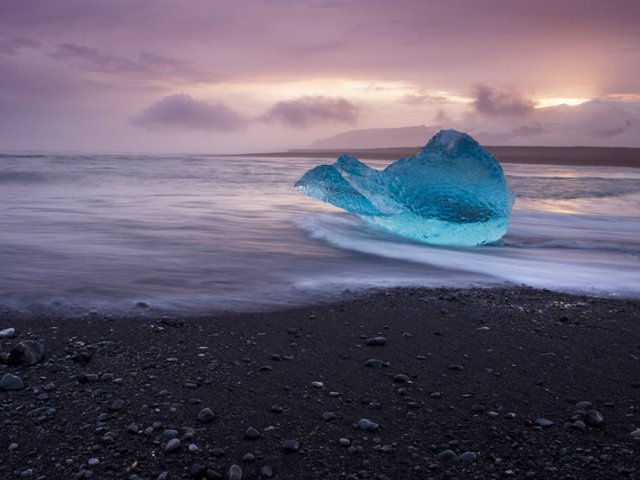
5,000+ HD & 4K photos
A real photo library, curated by humans across nature, travel, animals, and cityscapes. 2 added daily.
Built-in screensaver
The same library drives a full-screen photo screensaver when your computer is idle.
Custom playlists
Build collections on webshots.com and rotate them on your desktop.
Loved by millions
"I get to travel to a different part of the world every day."
I have enjoyed the pictures for the last 10+ years.
Great photos and easy to use!
I get to travel to a different part of the world every day!
Start free, upgrade anytime
Try our free starter collection, then unlock the full library when you're ready.
Free
50+ free wallpapers to start
- Starter photo collection
- Full screensaver — all six modes
- Multi-monitor support
Premium Monthly
Cancel anytime
- Full photo library — 5,000+ photos
- Smart rotation & custom playlists
- Caption overlay & time-aware scenes
- Priority support
Premium Yearly
Save 17% vs monthly
- Everything in Monthly
- Like having 2 months free
Latest collections
A hand-picked selection to get you started.


Need help?
Visit our support centre or check our FAQs for quick answers.